Thanks Dave,
If it goes as well as John's Monaro I will be stoked!
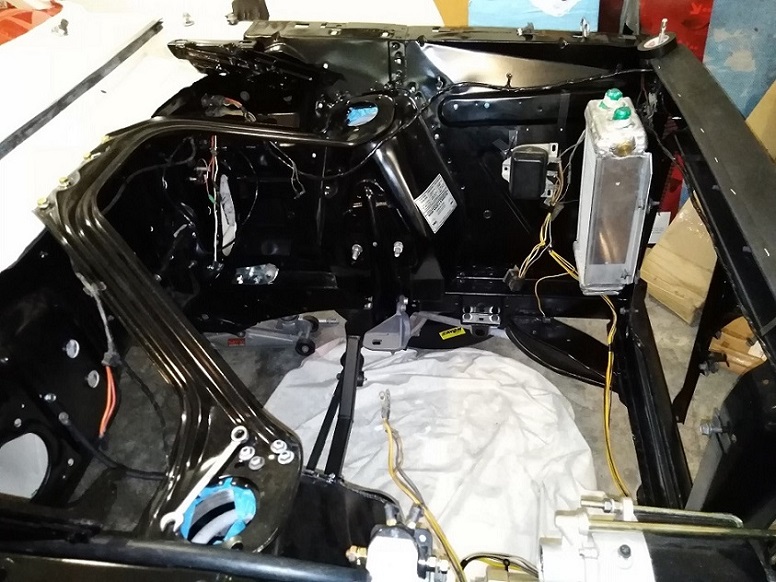
All of the wiring is in now I have sorted the alternator conversion circuitry (which was surprisingly easy) and relocated the regulator due to the engine oil cooler that the Monte Carlo Rallye cars ran in the day. I just need to wrap the rest of the yellow alternator wires and finish fitting to the clip retainers. Then its on to the battery cable from boot to cut off switch etc. After all of that is done I will fit the battery and circuit test the whole system.
Important to note that when looking at the cut off switch it is not just the battery circuit that needs cutting off. The charging system cycles 12v from the alternator (or generator)via regulator to the battery but, more importantly, it is on that same circuit there will be one other larger wire that provides power to the entire electrical system. (In my car the wire runs from the regulator to the light switch to power the electrical system)
So by disconnecting the battery only with a cut off switch may not actually stop your motor as the alternator is still providing power on a running engine, likely sufficient to keep your motor running.


 Reply With Quote


