-
Semi-Pro Racer

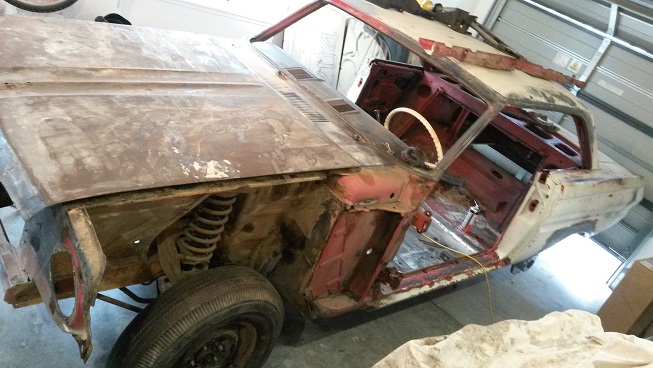
So, as you do when you strip car, photograph everything, and put each lot of parts in marked containers and box things like a door go all together, so a year or 2 down the track your grey hair (or the lack of it) does not get the better of you and you can figure out how it all goes back together.
RUST- who invented that, it is the most time consuming part of the rebuild apart from preparing for paint.
So before you start the steel repairs you need a Vernier Gauge and measure the thickness of the original steel to be sure you are replacing with the correct thickness these cars are mostly 1mm thick (with non chassis repairs).
Cut out the affected area and check what is left is thick enough to weld. Next make a paper pattern of the repair, place a sheet of paper over the cut out area and ensure it sits the same as the original steel sat. Then hold carefully in place and press-rub the paper around the outer edge cut you made all the way around. This will give you an exact pattern of the area you want to repair, cut it out exactly on the rub line. lay it on your new sheet steel and mark around with a ballpoint pen, then cut the steel slightly inside the line. this should almost fit, bend into shape and try to fit, use an angle grinder to trim small amounts off in order to press fit the new panel into place. when it press fits perfectly (if it's too small, throw it away an start again) and buts in place, then use welding magnets to hold in place, check that the shape is exactly the same as original, tack 1 corner at a time ensuring perfect flatness between old an new surfaces. Keep tacking in with your Mig or Tig then start welding 2 cm pieces at a time, stop quickly and hammer and dolly the weld, allow to cool and continue till finished. You will then need to grind the residual weld down carfully first use a grider disc then a sander disc JOB DONE
If you have spot welds Google "Plug welding". IMPORTANT Measure the distance of the original spot welds and ensure the correct number and distance between each spot weld is placed as OEM build. Use an angle grinder to carefully flatten down the top plug weld, then use a grinding tip to very lightly plenish the area, Etch prime. The replacement plug weld is done, this will ensure the car is repaired as originally designed.
Repair to rear left floor, You can see 5 plug welds
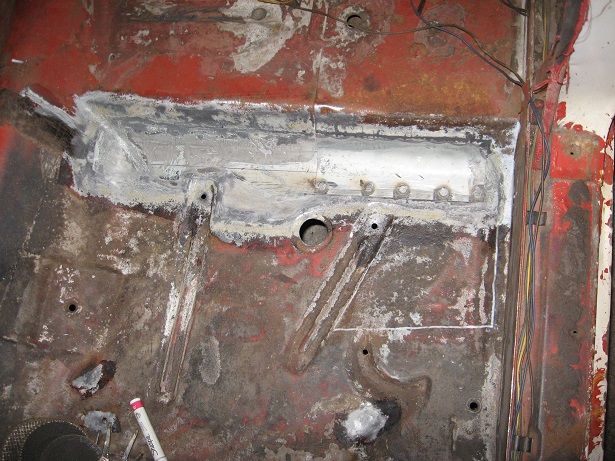
Repair to left front floor, the plug welds have not yet been flattened or plenished

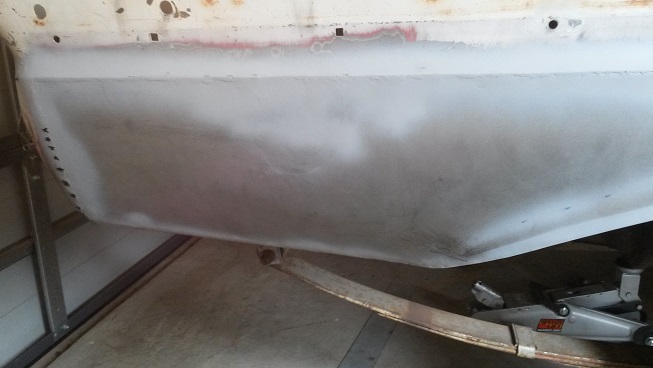
Replace right rear lower fender and under water drainage panels, had to hand make these.
Last edited by Paul B; 03-27-2019 at 06:51 PM.
Reason: Typos
 Posting Permissions
- You may not post new threads
- You may not post replies
- You may not post attachments
- You may not edit your posts
-
Forum Rules


 Reply With Quote