-
Bruce is correct. The FIA homologated cage which I had in a car of mine, and brand new SMP with papers, did not meet MSNZ in a number of places. Let's not restart the cage discussion 
-
Semi-Pro Racer

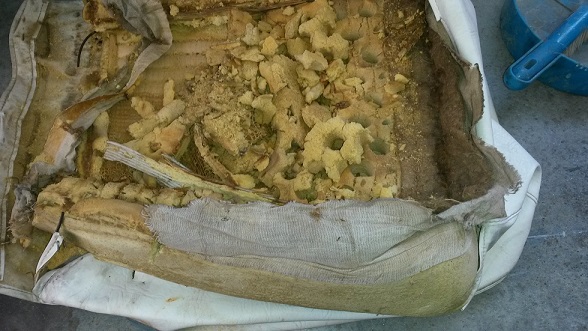
So I started rebuilding the seats, when the car was in the paint shop.The front buckets were absolutely gone, the usual broken springs, perished foam squabs, rotten hessian etc. broken seat slider mounts.
This is fairly typical of what you will see with the moulded foam squab when rebuilding seat, usually the seat base goes first and the back a bit later, new foam is now being remanufactured. Start by removing all side bolts and take the back off the base. Remove all the hog rings under the base (don't forget the hog rings that hold the piping down about 100mm on 3 sides) then remove the upholstery and foam.
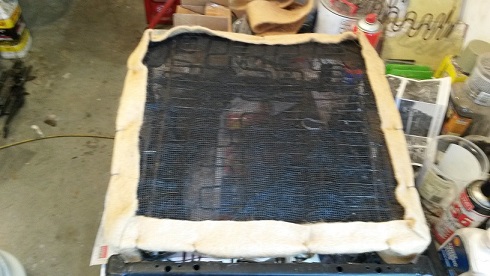
Once you remove the foam, you will see the hessian (rotten) with 0.9mm spring wire at 25mm widths attached. These need rebuilding.
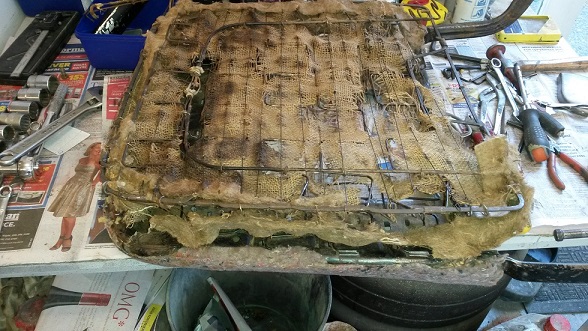
Next the broken springs will need replacing, frames repaired and welding any broken parts of the frame or spring retaining outers, with spring wire repairs, try to forge the weld with a hammer & dolly while its bright red hot and this will work much better with the spring wire... not ideal. the zig zag springs are best to replace, new ones they can be hand made at some companies.
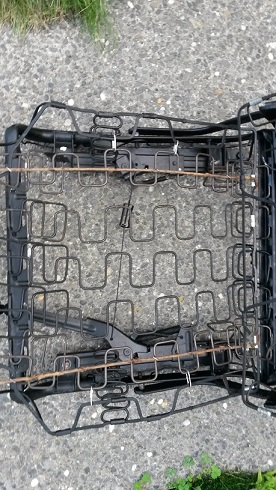
It is important to realign the springs. assemble the frame after its stripped, and check the distance on the seat frame sides with the back lower hinge arms when the back is pushed forward. There should be clearance of about 15mm on each side.
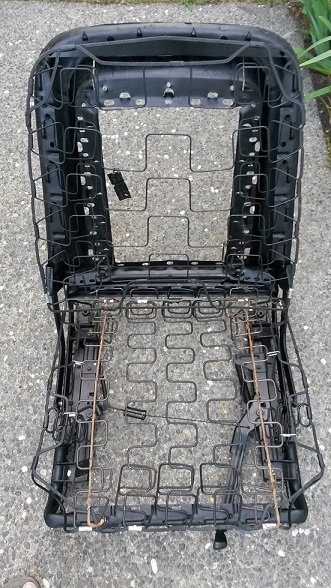
Then clean, de-rust, and repaint the frames, and start reassembling in the order it came off, using new hog rings and hog ring pliers. the black hessian has been replaced with new 0.9mm spring wire, hog ring this into place, then put new felt around the same areas it came off, using the old stuff as patterns.
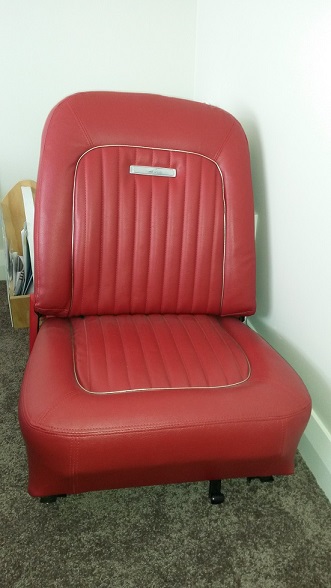
Mark the centre of the frame, foam squab & new upholstery front to back, Place the new foam squab on top of this, and fix centred into place.
Then centre the upholstery, the really hard part is re hog ringing the seat centre piping down on to the steel spring steel. The pull the covers over, check the centre and hog ring into place
Last edited by Paul B; 06-30-2017 at 11:09 AM.
Reason: Spelling & typo
-
Semi-Pro Racer
 Posting Permissions
- You may not post new threads
- You may not post replies
- You may not post attachments
- You may not edit your posts
-
Forum Rules


 Reply With Quote